
Voronoi Studio for Autodesk® Fusion®
Win64, EnglishGeneral Usage Instructions
3D Voronoi Studio General Usage Instructions
- Select the "3D Voronoi Studio" button from the (UTILITIES tab -> PERCEPTINO Panel) or from (SOLID tab -> CREATE Panel -> menu)
- Select a body to fracture in the "General" group or change the settings of the proxy box in the "Proxy" group
- Create a list of distributors and change their settings using the "Distributors" tab to create Voronoi sites (Voronoi points)
- Select the desired main outputs (Fragments and Gap Fillers) and change their settings using the "Fragments" tab
- Select the desired extra outputs (Sweeps and Voronoi Sites) and change their settings using the "Extra Outputs" tab
- Select the desired appearances for fragments gap fillers, and sweeps using the "Appearances" tab
- Click on the "Preview" button (eye button) or press the "Space" key to preview the output
- Click on the "Build" button to make the final fractured body (Unavailable in Trial Version)
2D Voronoi Studio General Usage Instructions
- Select the "2D Voronoi Studio" button from the (UTILITIES tab -> PERCEPTINO Panel) or from (SOLID tab -> CREATE Panel -> menu)
- Select a profile as the base for the creation of the Voronoi sketch in the "General" group of the "Main" tab or change the settings of the proxy box in the "Proxy" group of the "Main" tab
- Create a list of distributors and change their settings using the "Distributors" tab to create Voronoi sites (Voronoi points)
- Select the desired main sketch style and gap options using the "Sketch" tab
- Select the desired extra outputs (Voronoi Sites, Patches, Extrudes, Sweeps and Active Selections) and change their settings using the "Extra Outputs" tab
- Select the desired appearances for cells, gap fillers, and sweeps using the "Appearances" tab if Patches, Extrudes or Sweeps outputs are selected in the previous step
- Click on the "Preview" button (eye button) or press the "Space" key to preview the outputs
- Click on the "Build" button to make the final outputs (Unavailable in Trial Version)
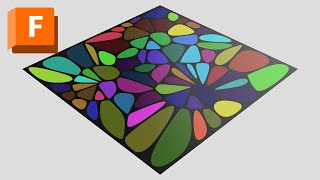
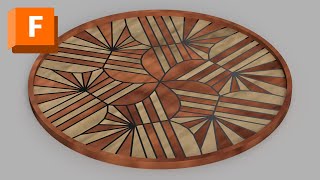
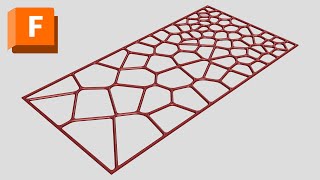
Screenshots


Commands
Installation/Uninstallation
Install:
The installer that ran when you downloaded this app/plug-in from Autodesk App Store will start installing the app/plug-in. Or, simply double-click the downloaded installer to install the app/plug-in.
Uninstall:
You can unload the add-in without uninstalling it by clicking the "Stop" button when the add-in is selected in the list box on the "Add-Ins" tab of the "Scripts and Add-Ins" dialog.
Unchecking "Run on Startup" causes the add-in not to be loaded in future sessions of Autodesk Fusion.
To uninstall this plug-in, exit the Autodesk product if you are currently running it, simply rerun the installer, and select the "Uninstall" button.
Or, you can uninstall it from 'Control Panel/Programs and Features' (Windows 10/11), just as you would uninstall any other application from your system.
Additional Information
Known Issues
Contact
Author/Company Information
Support Information
Email us at support@perceptino.com
Version History
| Version Number | Version Description |
|---|---|
|
4.0.0 |
- UI Improvements - New Cell Sketches Output - New Preview Sketch Output - Bug Fixes |
